
I had the privilege of working with Lucy Billings to do the photography for her album “No Other Road”. Over three different sessions we worked on various locations, lighting schemes and ideas to create a group of photos that could serve the purposes of the album and be used for publicity. Here are a few with a brief discussion of how they were created.

Before we began shooting, I scouted the area for roads we could shoot on. We were looking for something scenic and somewhat remote, in keeping with the title. The cover shot (at the top of this blog post) and the inside back cover shot were done on Stage Road near Pescadero, CA. This is about a mile from the coast. This photo was taken in the section of road with large eucalyptus trees on both sides. The eventual cover used an illustrated scene with Lucy lifted from the photo. Touraine Bellah at Bellah Design was the creator of this colorful cover. The lighting was natural sunlight. We filled in the shadows with a reflector held by my assistant Sara Kline.

Our second session yielded one of my favorite portraits I have taken. (Above) On a cloudy and windy day, we headed out to the San Francisco Bay under the Dumbarton Bridge between Menlo Park and Newark. There are various dirt roads through this section of the bay that were used by Morton Salt when most of this part of the bay was salt evaporation ponds. There is also an abandoned railway bridge that we used in the background. Lucy braved the cold wind and stood for several photos. I used a coco ring flash and an on camera Canon 580 EX II speedlight. This brightened Lucy up against the background and made the red dress shine. This photo is on the inside flap behind the front cover.
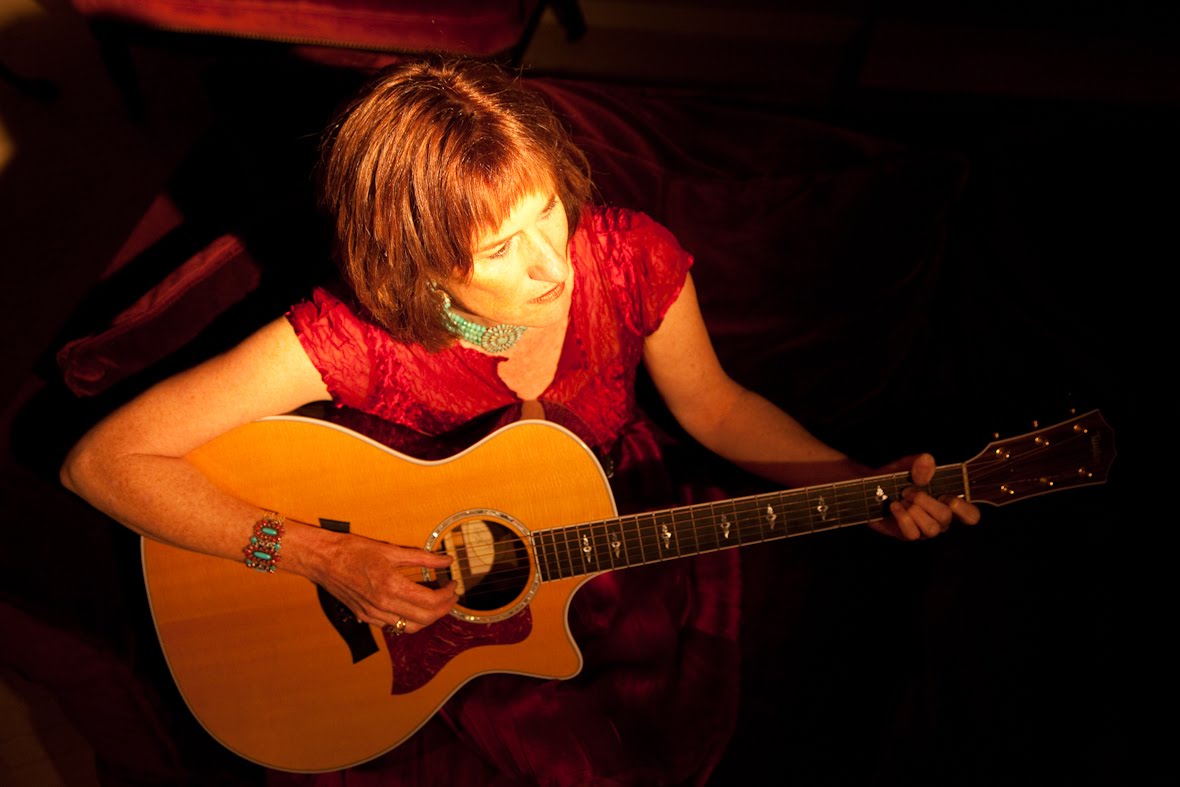
The next shot is on the back of the album. This was taken at the end of the same day we did the bay shot. This shot was done inside at Lucy’s house. I used a Pepper hot light positioned high above and stood on a chair to get the above angle. I like the way the tungsten light warms up the photo and chose not to balance out all the effect of the warm light.

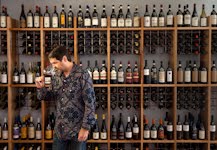
For the publicity shots, we started off at Vida restaurant in Menlo Park, CA. Ali El Safy, the proprietor who had previously posed for my shot The Restaurateur is a big supporter and let us use the restaurant for a backdrop. This shot was taken inside in the front of the restaurant. I used a narrow depth of field to keep the background out of focus. There is one LumiPro LP160 speedlight with an umbrella mounted camera left.
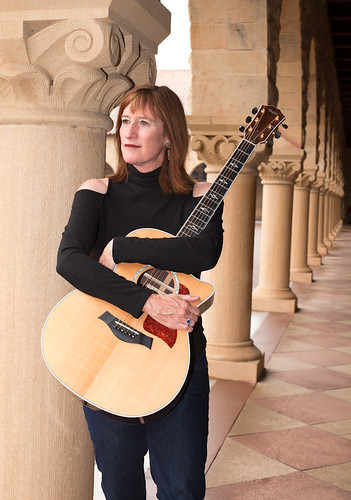
The outdoor shot with the columns was taken at Stanford. We got a strong background with the columns and added a light camera left. Once again we used an LP160 speedlight with an umbrella mounted on a stand.
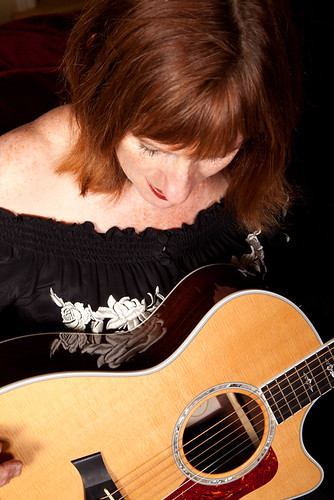
This shot with the guitar and the embroidered blouse turned out to be another favorite. Back at Lucy’s house, we used an Alien Bees AB800 with a softbox to light Lucy’s beautiful red hair and get the great reflection on the guitar.
The fun for me on this project was getting to do so many different types of shots with the same subject. Lucy is very patient and willing to try lots of different ideas to get a good photo. Give her album a listen. You can access it on her website www.beinglucy.com or on iTunes.


